Colorado Landforms Unit – Interactive Material with Geography in Mind
As I set out to write about Colorado history, I knew I needed to cover Colorado landforms. Little did I know this unit would become my favorite in my massive bundle of Colorado resources. With its variety, maps, and beautiful pictures, this unit grew on me over time. I hope it grows on you as well.
Building Colorado Landforms
When first creating a resource, I complete copious amounts of research. I take notes upon notes upon notes about my subject from many different sources. I try to gain corroboration on facts and information. Then I assimilate all the information and produce a secondary source reading based on my understanding of the material. With the Colorado Landforms Unit, I completed this process several times.
I usually start every lesson with a reading, in this case, “The Four Landforms,” which I created and then differentiated. It was interesting to read and learn about the landforms throughout Colorado. I had either never learned them myself as a child or forgotten them so long ago. The beauty of each formation and the unique structures and animals found throughout each landform showed a distinction I recognized but overlooked in my day-to-day life.
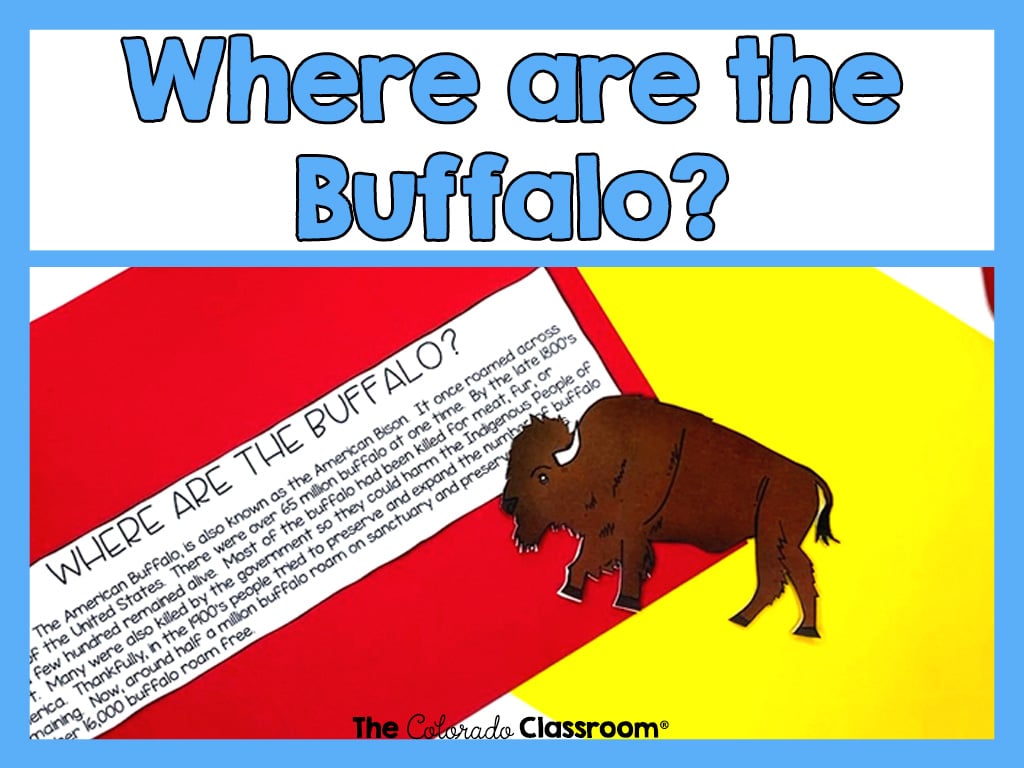
I repeated this procedure with the information on the buffalo, “Where are the Buffalo?”. The stories and photographs were enthralling as I completed my research on this majestic animal. I was also able to make a unique foldable notes area made up of two buffalo butting heads. I love to create one-of-a-kind interactive materials for my lessons.
Building Maps that are One-of-a-Kind
Another way I used this method was to create a map of the state landforms. I make my own maps in Photoshop using other maps and primary sources as guidelines. So just like writing an article, I study and take notes, build drafts, and create and re-create lines and structures over time until I think it is complete and well done.
This particular Colorado landforms map was enjoyable to make. It was the first-ever map I made digitally so students could color it in via Google Slides™. It was a very laborious process, taking hours to complete, with intricate points and adjustments. Yet the result is so fantastic and unique in state resources and mapping products that I am delighted.
See an example of the map and how it is colored and labeled digitally in the video below.
Classify, Compare, & Contrast within Colorado Landforms
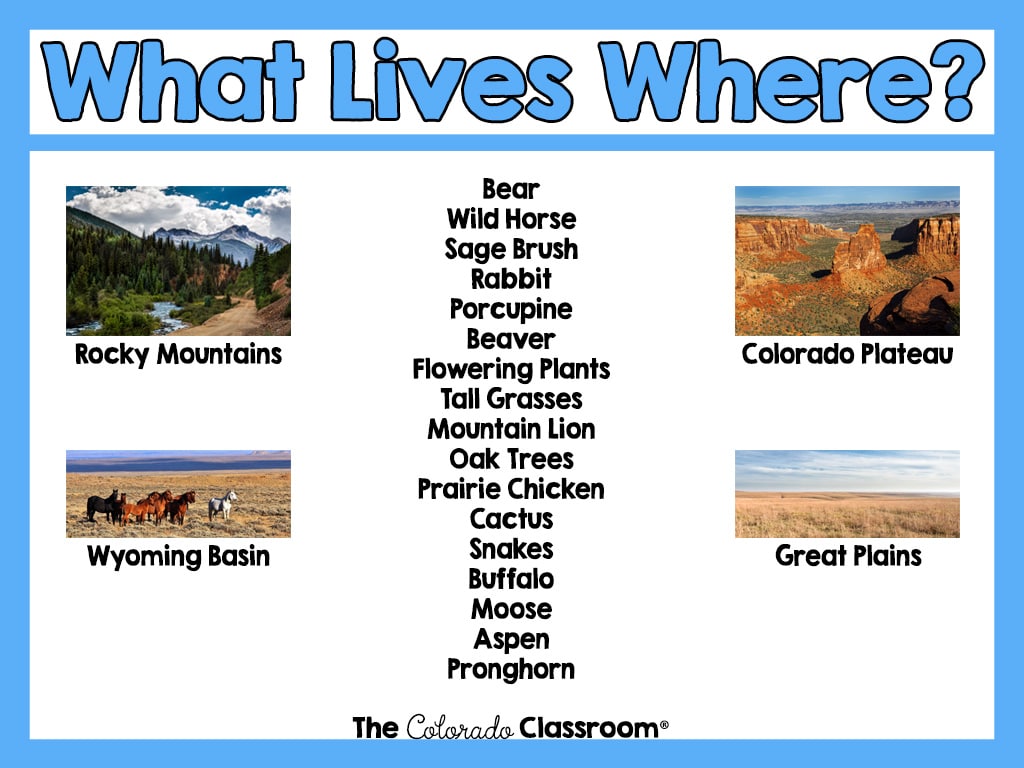
Another aspect of the Colorado landforms unit that I love is the use of classification, comparison, and contrast. Students read about the various animals, plants, and terrain. Next, they write a “compare and contrast” paragraph or two about what they see and understand in the text and photographs.
Once completed, the students then undergo a classification process called “What Lives Where?” Given each landform, students classify what plants and animals live in that landform area, overlapping lifeforms as needed. Through this process, they can see more similarities and differences and then add or alter their written paragraphs as needed. It also helps students understand the terrain where each plant/animal lives and why it lives in that area.
Another Map for the Win
The final reason I love this unit is for the final project in the resource. Students create a salt dough map of the Colorado landforms on a board or piece of stiff cardboard. They then bring it to school, or they photograph it and submit it digitally for review. This salt dough map is right on target for this age group and developmental level, making it a favorite of mine. You can learn more about making and using salt dough from scratch in this blog post here.
I also created three different rubrics to accompany the map, so teachers could pick and choose the rubric they liked best. I feel like it’s a great project to culminate this excellent unit.
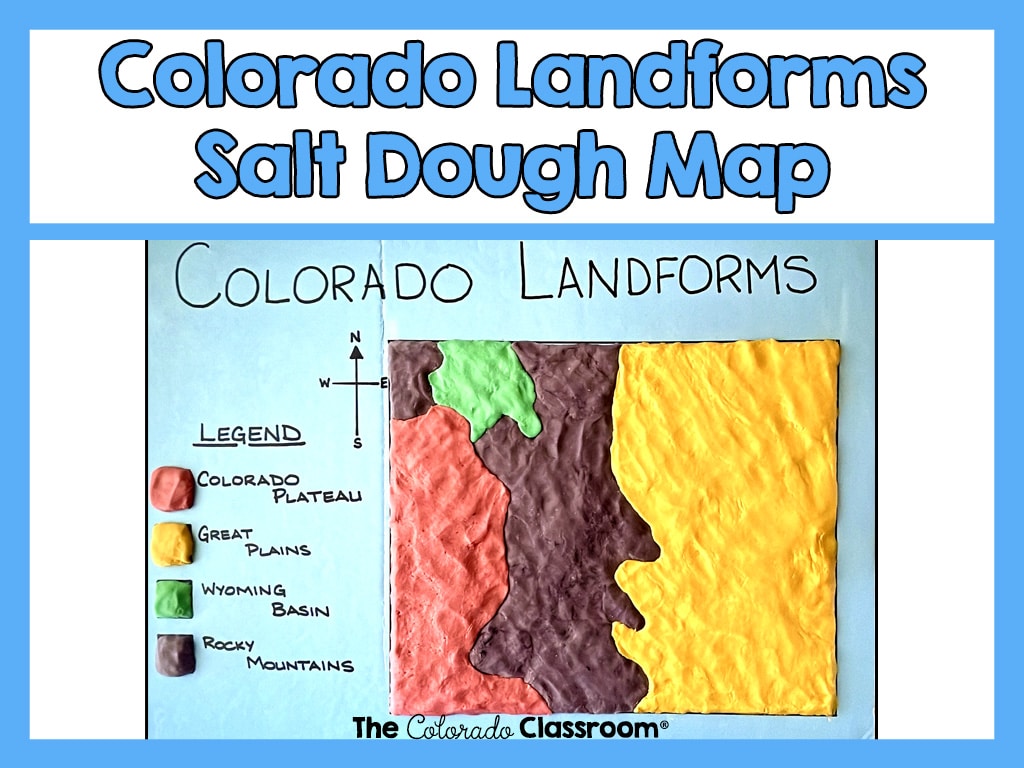
Between the maps, the readings, the unique items I created, and the digital and printable options, I am very proud of this resource. Once it was finished, I was eager to show it to the world. Colorado landforms energized me to continue my quest to complete a Colorado state history and geography curriculum.
What’s your favorite part about teaching about Colorado history and geography? Tell me in the comments!
