Starting Interactive Notebooks with Success in Mind
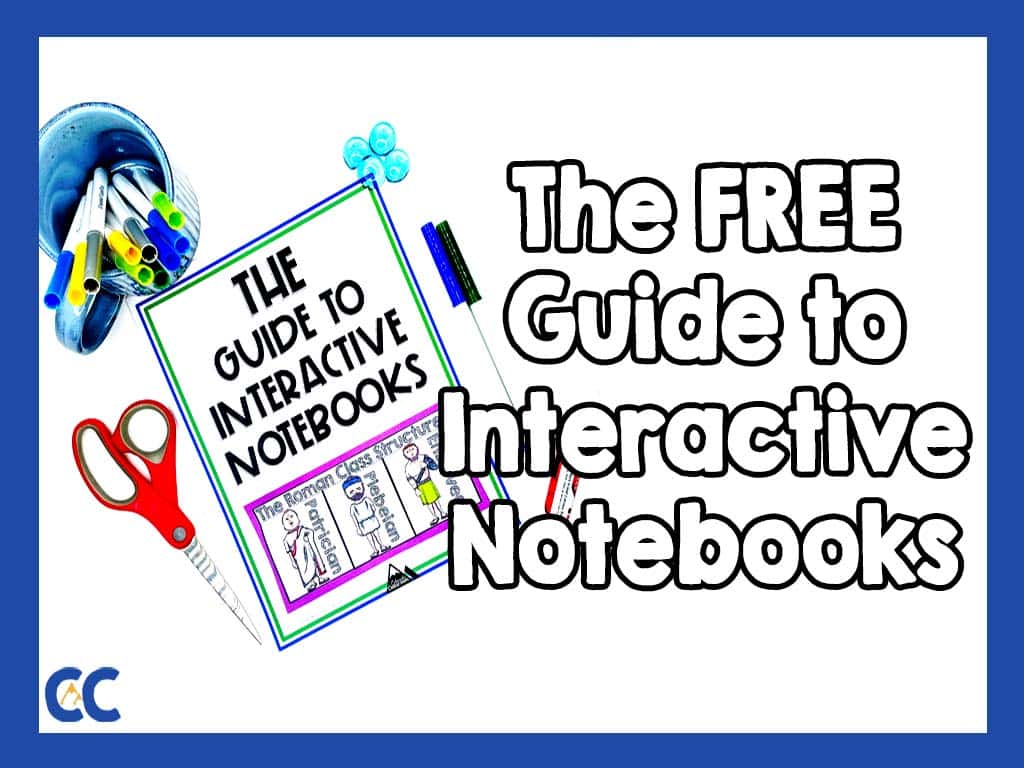
Starting Interactive notebooks can be a huge topic, so I’ve decided to break it down into sub-categories and write about each one separately. With this being the first, let’s tackle the beginning components of interactive notebooks. If you’re ready to jump ahead, I wrote all my thoughts out in a Guide to Interactive Notebooks, which you can download here.

As many people who know me understand, I love ❤️ interactive notebooks! I’ve been working with them for years and years. Refining them. Polishing them. And treasuring them along the way. I have also been creating interactive notebook examples for my students to use throughout their own books. This requires getting into the philosophy and construction of interactive notebook concepts.
It had never dawned on me before that many people may not be as familiar with interactive notebooks as I am. It wasn’t until a friend of mine came to me perplexed about what interactive notebooks (INB) were, that I decided to write this post.

The Philosophy Behind INBs
I won’t go into the entire history, purpose, effectiveness, and benefits of INBs right now, but in short, interactive notebooks allow students to be independent and creative thinkers and writers. They take class notes and complete other activities. Each one is done in a way that allows students to process the information presented in their own way and style. Many different forms of learning are taught through interactive notebooks. They allow for the adaptation of many creative ideas so learning is fresh and always changing.
Starting Interactive Notebooks

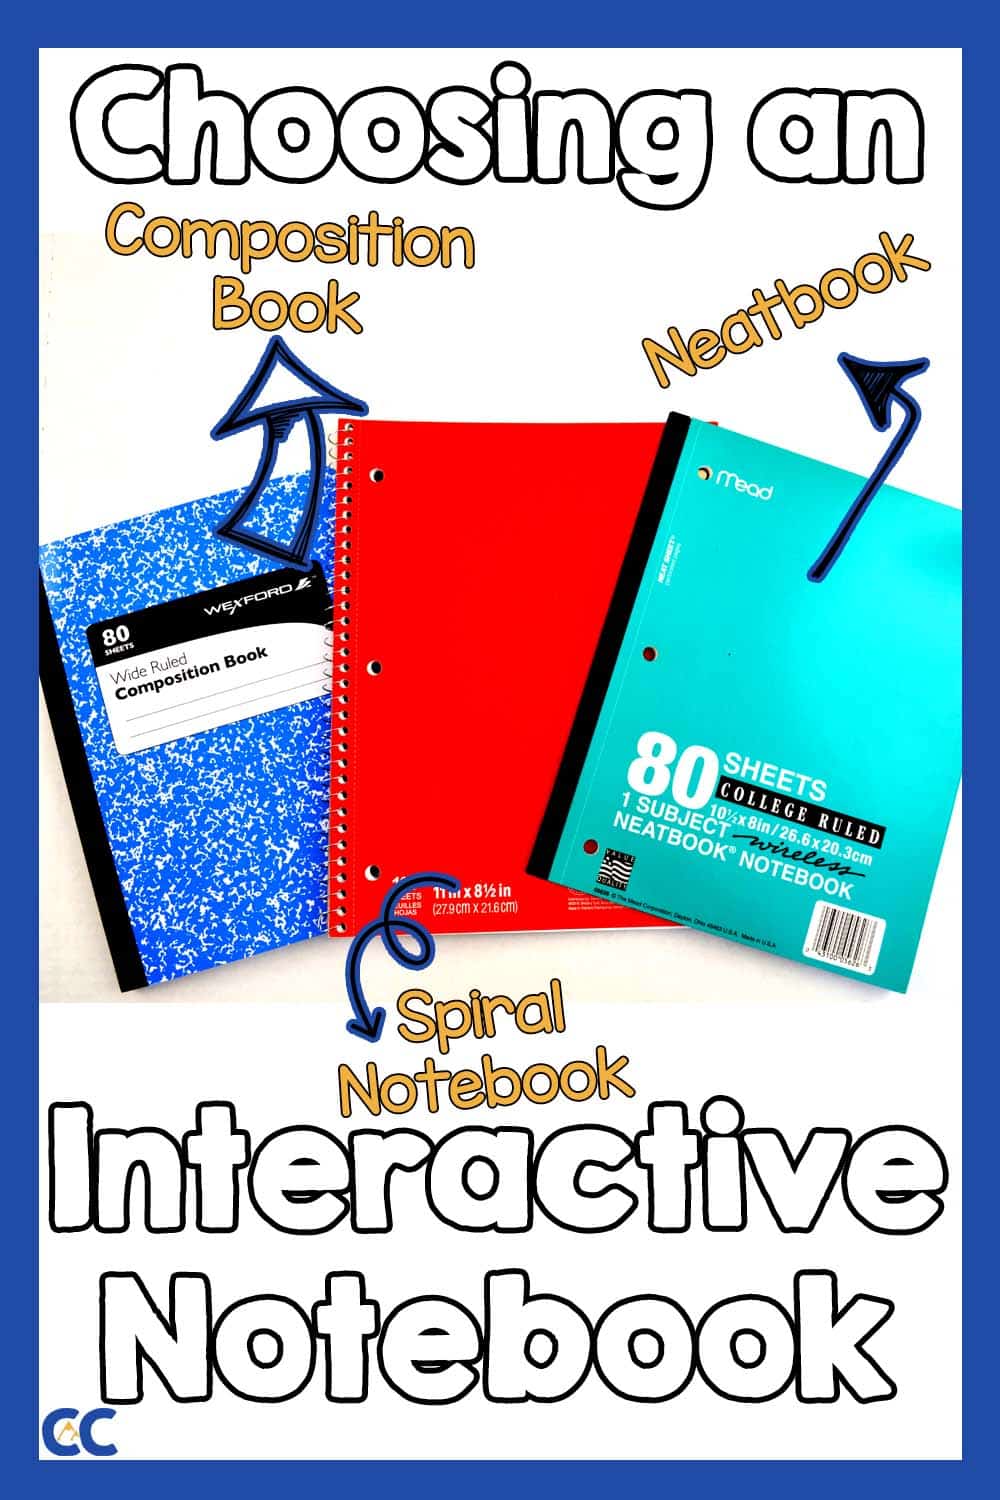
Starting interactive notebooks can be as simple or as elaborate as you wish. I have found over years of experience, however; the more time I take at the beginning, the less frustration I have throughout the process and year. Therefore, I recommend looking at the pros and cons of each type of notebook and choosing the one that best fits your style and needs. I have all the pros and cons listed out in the Guide to Interactive Notebooks, so you don’t need to re-invent the wheel. Just download the guide and check out the thoughts already assembled there.
One year I even went as far as making an INB from individual sheets of notebook paper as we slowly grew our sheets into a book over the course of the school year. In hindsight, this is a method I would not recommend. Sheets often rip, get spoiled, and lost as students tend to take them with them. I also used about ten million of those dot reinforcement tabs for absolutely no reason when all was said and done.
Number the Pages…All of Them
Besides just choosing the right book, other setup tasks involve page numbering, completing a table of contents, and securing an envelope and bookmark to the book. Although each of these items are effective and helpful in their own right, none of them are critical to the process. If things must get rolling and teaching must commence, by all means, do that.
If you do have a day or two to spare, take it, and start by setting up your interactive notebooks for success. I usually have my kids start with the page numbering. They number the front and back of every page, in order, from the beginning of the book, to the end. Numbers should be neat and always in the same corner. I like mine in the outer, bottom corner, so bottom left or bottom right, depending on the side. They should also be small but not tiny and microscopic like some students enjoy doing.
Envelopes & Bookmarks

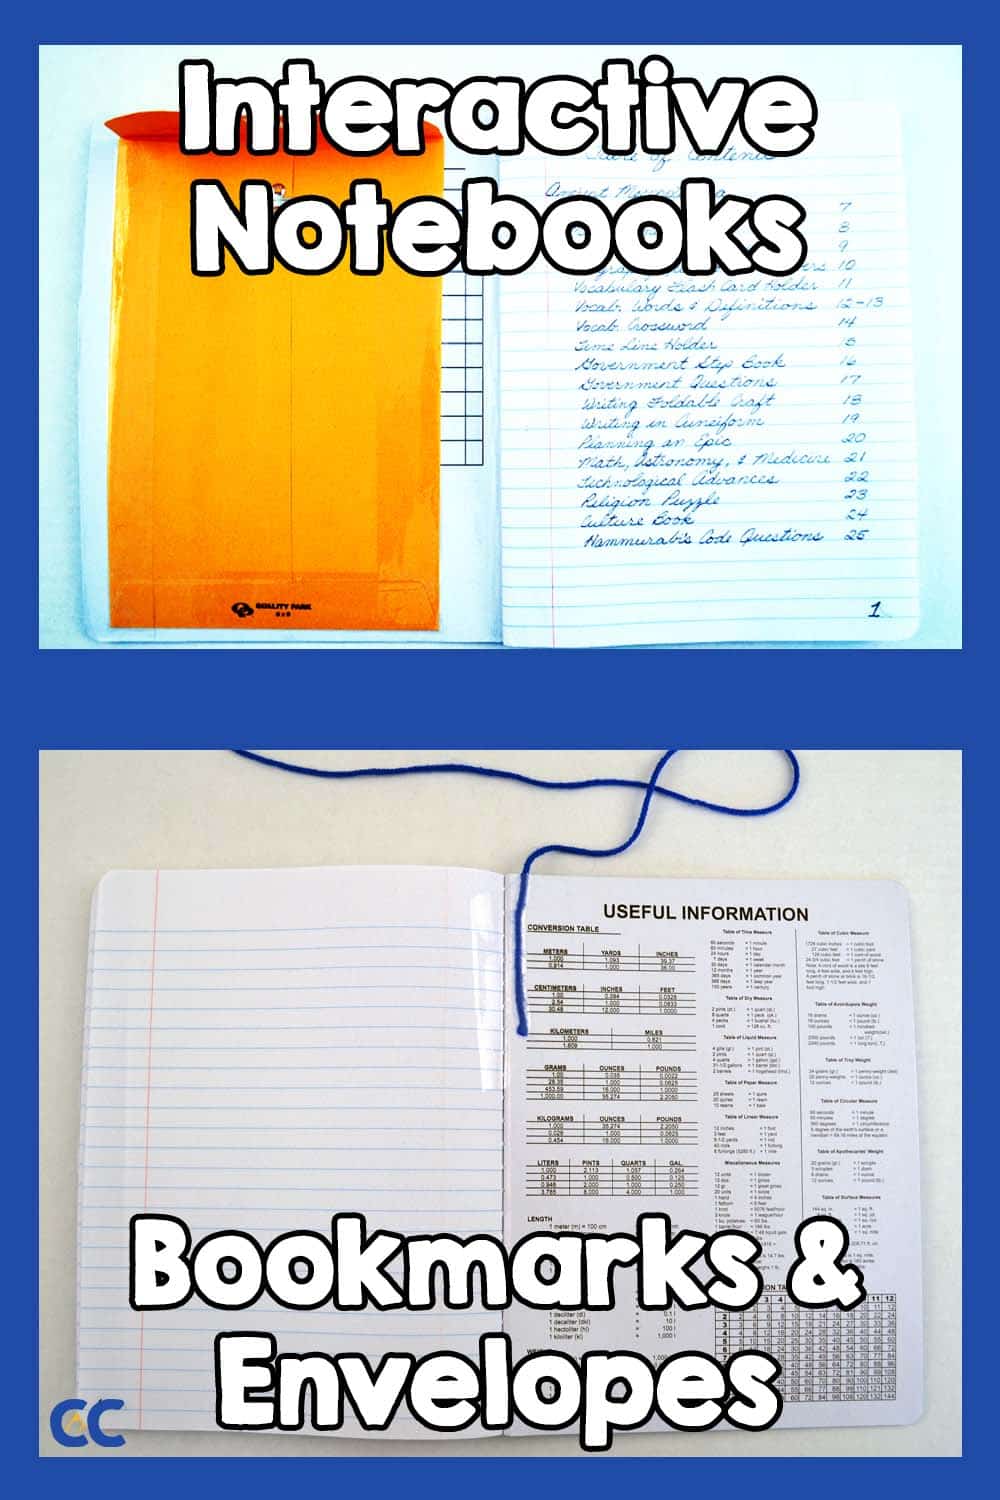
As students are writing numbers in their interactive notebooks, and lightly talking, I take that opportunity to come around and affix envelopes and bookmarks with clear packing tape. Envelopes should be 6″x9″ manila envelopes. The envelope holds pieces that are unfinished when the day is over. Small business class envelopes are not large enough to hold most pieces used at the upper elementary grades. As well, it just has a flap holding it shut and pieces easily fall out. With the 6″x9″ manila envelopes a clasp holds shut the flap and the pocket is much larger and more secure.
The other item I tape down at this time is a string. I usually have 3-5 balls of yarn and allow students to pick their favorite color. I then take a long piece and wrap it from the front, up and over and partially down the back. The string should stick out at the bottom of the front. I then tape the other end down, right along the seam, on the last page of the book. This creates a bookmark students can use to help mark their place in the book. They simply move the string to the new location and close the book.
Track a Table of Contents
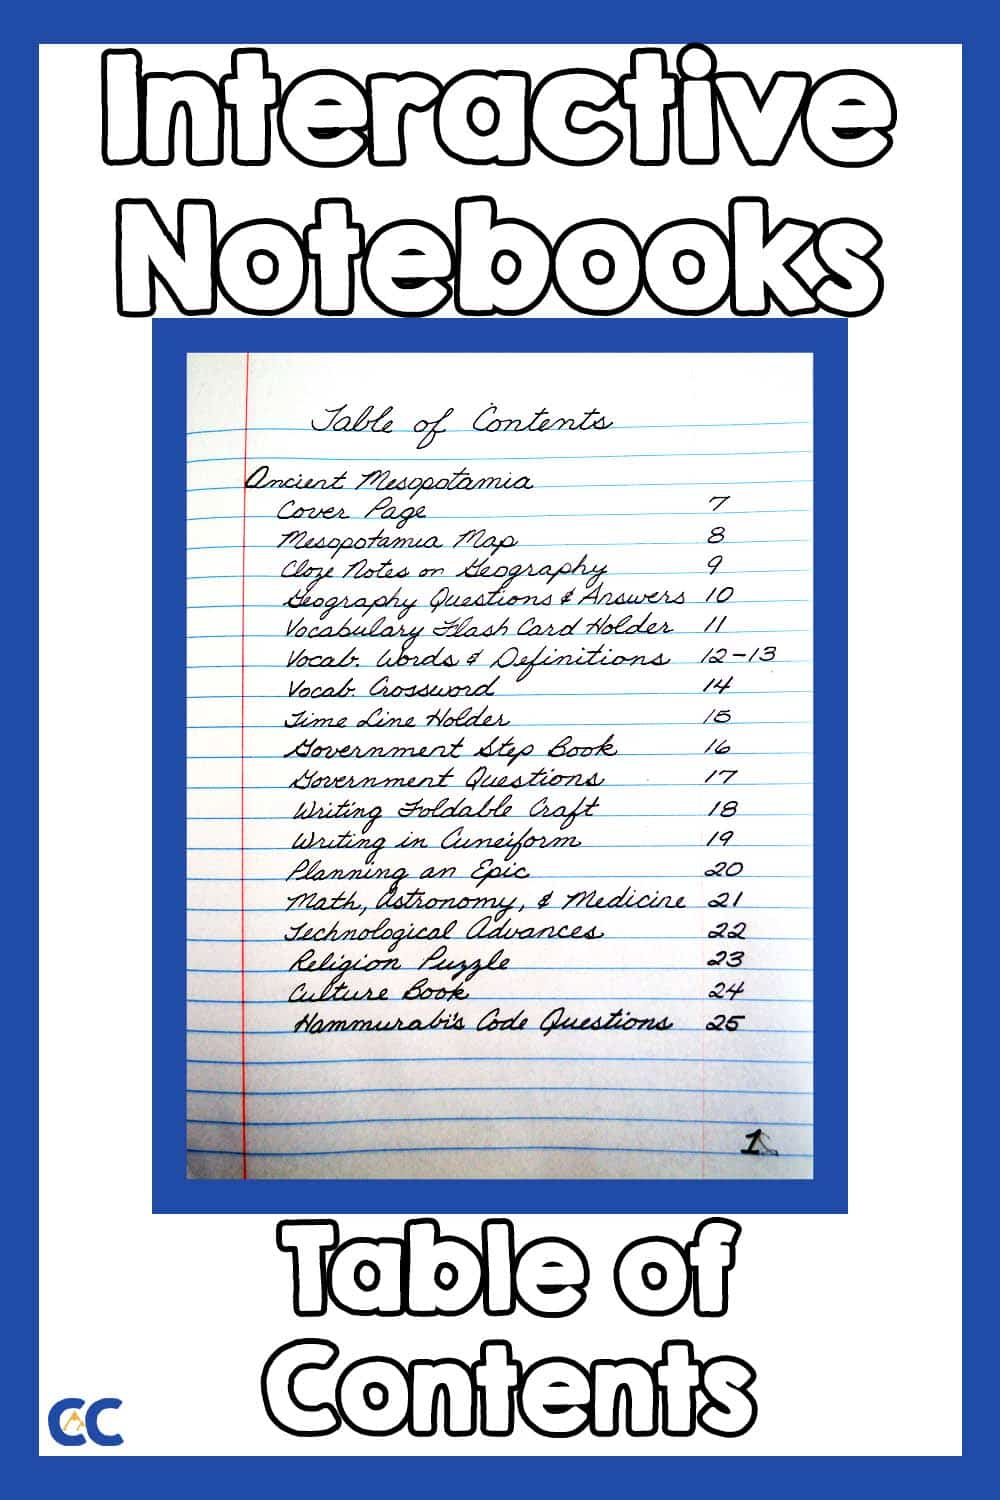
The last step with interactive notebooks is to establish a table of contents. For this process, I typically leave 6-8 pages blank at the front of the book. This allows the Table of Contents room to grow and expand over the course of the year. I also like to utilize the concept of indenting to group items and concepts, thus helping to organize and structure the contents.

To the side here, an example of Ancient Mesopotamia is visible. The indenting, structure, list of topics, and page numbers are all available for viewing. This is not something you just want to hand off to the students and expect them to do automatically. Modeling will need to take place for a unit or two or three. Then slowly scaffold and fade and allow students to perform this on their own. And, of course, that depends on the age and abilities of the students you teach. It is possible that you might have to model all year long for some ages and classes.
The Best Book You’ll Ever Create
Once the books have been chosen, numbered, set up, and a Table of Contents has been established, you are ready to begin assembling the best book you will ever create. The knowledge, impact, and insight that an interactive notebook provides will amaze and hook you. You will use them whenever and wherever you can. And the rest, as they say, is history.

If you’d like help with interactive notebooks, want to learn more, belong to a community of like-minded people, and receive free resources to attempt in your classroom, try The Guide to Interactive Notebooks, available here.


Pingback: Interactive Notebooks: Philosophy and Benefits | The Colorado Classroom
Pingback: 3 Interactive Notebook Rules - The Colorado Classroom