A Simple Guide to Classroom Setup at Sixth Grade
By mid to late July every year, I can’t wait to go back to school to get my classroom setup. I miss grading papers. I dream about school. And I can’t help but work on classroom decor. After 17 years of classroom setup, I tend to have a system down, so I thought I’d share my process with you.
Also, this post contains affiliate links. I am an Amazon affiliate, and as such, I earn a small commission on qualified purchases. Thank you!
The Dot Dudes featured in this blog post and in my photographs are courtesy of Sarah Pecorino Illustrations, and can be found here!
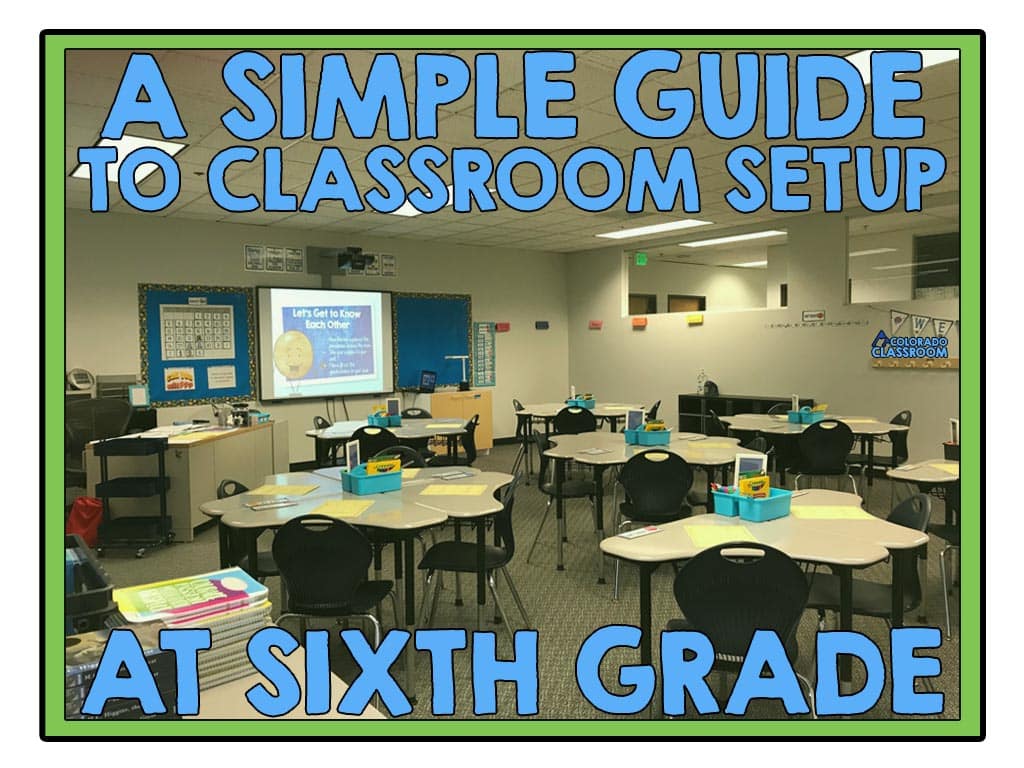
Totes Technology First
Classroom setup should totally start with technology because if you’re not getting the emails from admin, you might not have that job much longer. Plus, if the projector is busted or needs new bulbs, it always seems to take forever to requisition those things, so you want to jump on that immediately.
Find your network jacks and determine where your desk needs to be to reach the adaptors. Then hook everything up and make sure email, projecting, sharing, etc. are all functioning correctly. If you find any issues, then get the work orders completed and get going on the other items as you wait for the hard-working technology staff to make it around to you.
Sort, Sift, & Scrap
Whether you sort, sift, and scrap things in May or in August, the first thing you want to do is go through all your drawers, cabinets, piles, etc. and discard anything you aren’t using. Some things can go into a teacher’s lounge for others to take advantage of, but many things should just find the bottom of a trash can.
Next up is to organize, consolidate, and label all your materials. Make your labels with a label maker, Cricut, Silhouette, or in a program like PowerPoint. Don’t get so hung up on the labels that you don’t accomplish the task. Lastly, make sure everything has a home that is within reach. And if possible, you never want to put things behind other things. You’ll forget that they’re there. Out of sight, out of mind, out of use.
Once everything has a home, it’s time to arrange your furniture. You definitely want to make sure to have room for all your students. As well, make sure you have room to walk between them and help them as needs arise. Think about partner or group work and if you want to facilitate that now or work up to that arrangement.
Systems, Routines, & Habits
Another thing to consider when arranging furniture is to build systems, routines, and habits through your classroom setup. Systems, routines, and habits help build consistency among students. They also create expectations and boundaries, teach students the proper ways of completing tasks, and how to behave, and give them an order for task completion.
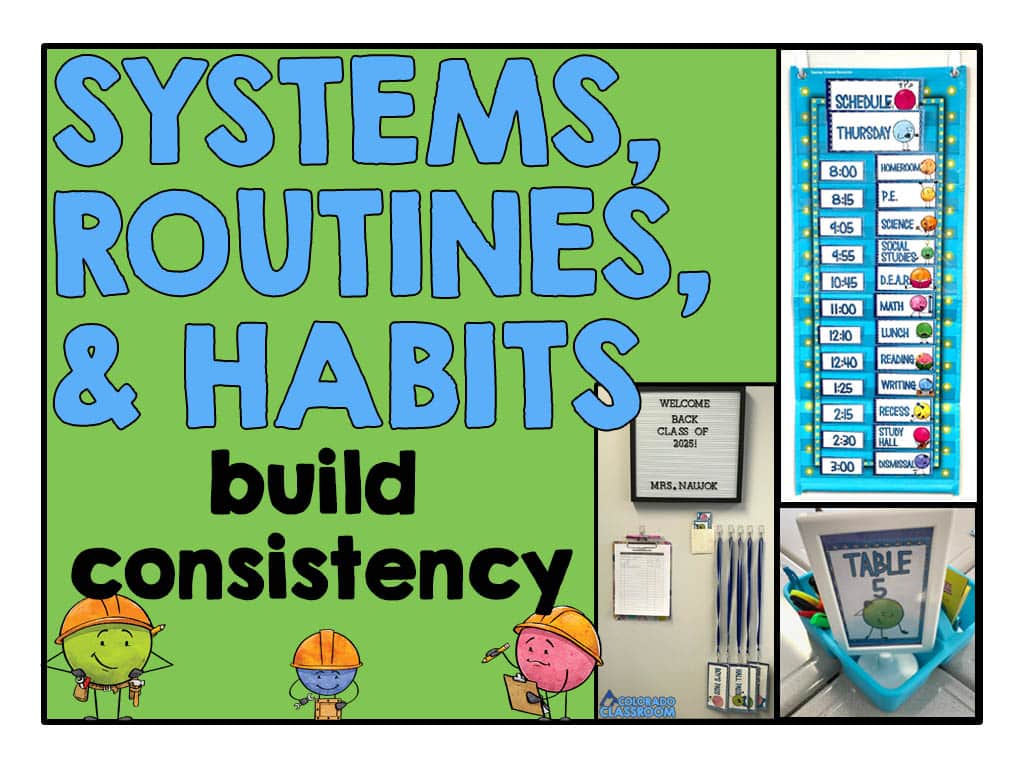
You may want a supply station, a calendar wall, a checkout or personal needs station, a cool-down corner, and more.
- The Supply Station might have your pencil sharpener, stapler, a hole punch, and other needs to accomplish work. This can be one centralized station, or it can be stations that are provided one per pod or group.
- A Calendar Wall or Morning Work Station might be a place for a calendar, lunch menus and selections, announcements, attendance markers, carpool or bus notices, and more. This is basically like a large bulletin board system, so you may want to plan space for it but wait until that step before constructing it.
- A Check-Out or Personal Needs Station could be where students sign up to check out and head to the restroom or an intervention. It can also be where you have a baggie of band-aids, tissues, hand sanitizer, and other items. You’ll want a clipboard, passes, a trashcan nearby, and any personal items you plan to supply.
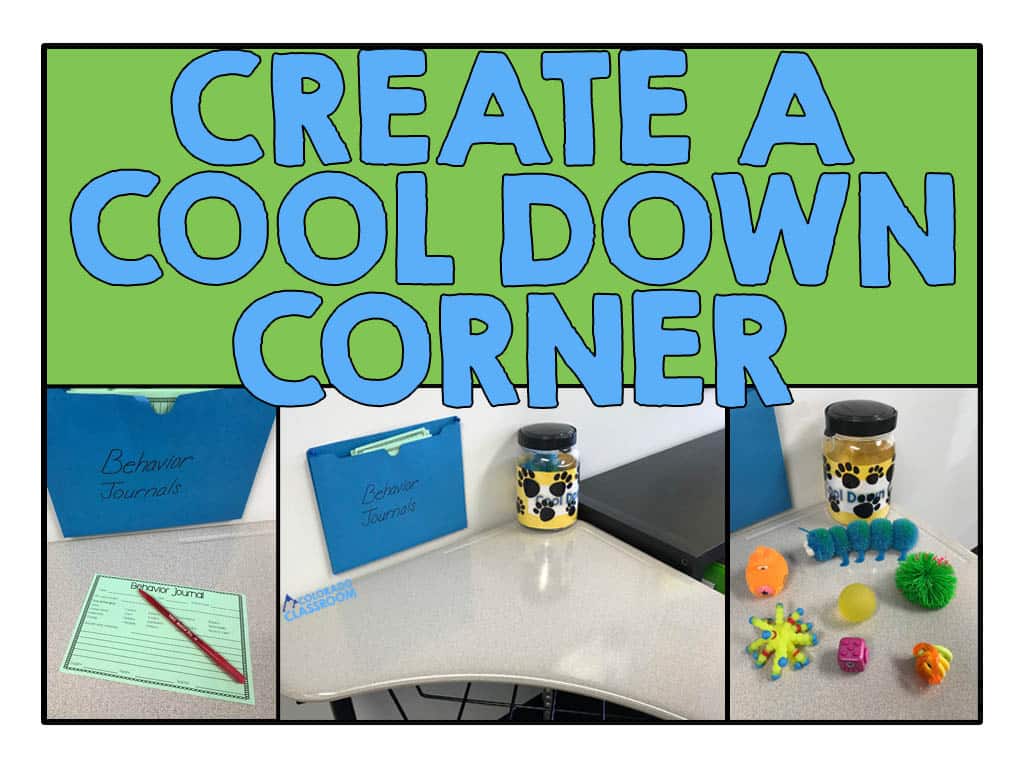
- In the Cool Down Corner, it’s best to have an assortment of items students can quietly play with to help them decompress and expel some of their emotions and energy. You might want some coloring pages and crayons or markers, some soft toys or quiet fidget items, as well as some mental puzzles or inspirational posters. This may also be where you want your discipline area to be with some behavior posters, an outline of the rules, some Behavior Journals or other behavior contracts, and possibly a timer. Put this area or corner off to the side and out of the way, so it really is a place for students to cool down, calm down, and gather themselves before rejoining the class.
- A Welcome Center makes students feel welcome and valued. This could consist of several items, ranging from a door sign to a welcome banner, names on lockers or desks, morning greetings, and so much more. Let your students know that you care and are happy that they are there with a welcome center that screams happiness and joy.
Classroom Setup Meets Color
One of the systems, routines, and habits I would put into place before school started was my system of organization. Probably the most helpful organization system I have used over the years is my use of color to organize and track classes. I lay out the process for both elementary and middle school classes in detail in the blog post linked here, if you would like to read more.
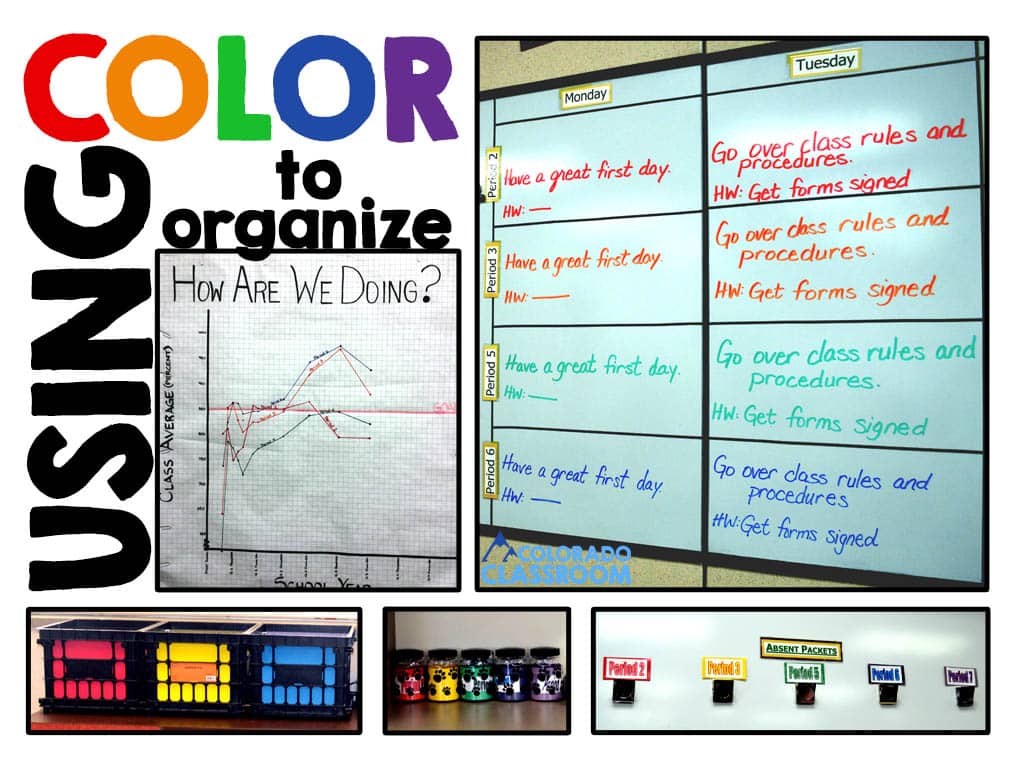
I assigned every class a color for the year, going in rainbow order. Everything associated with that class then uses that color. Whether it’s writing on the whiteboard, passing out papers, managing their rewards, storing their portfolios, etc. Everything I do is in that class color. It’s also a technique I recommend to students when they go to organize their supplies for each class. Many who follow my advice come back to thank me for it later.
Bulletin Boards
I next tackle decorating and prepping the bulletin boards in my classroom once all the furniture and stations are arranged. Our Fire Marshall tends to be a bit strict here, so the use of fabric is out, along with rugs, fake plants, and having more than 20% of your walls covered. It’s all a real bummer, but I understand the safety aspect. I am not the cutest decorator anyways, so it all works out for me, but I usually like to have one content board and one character board up in my room.
Setup a Space of Your Own
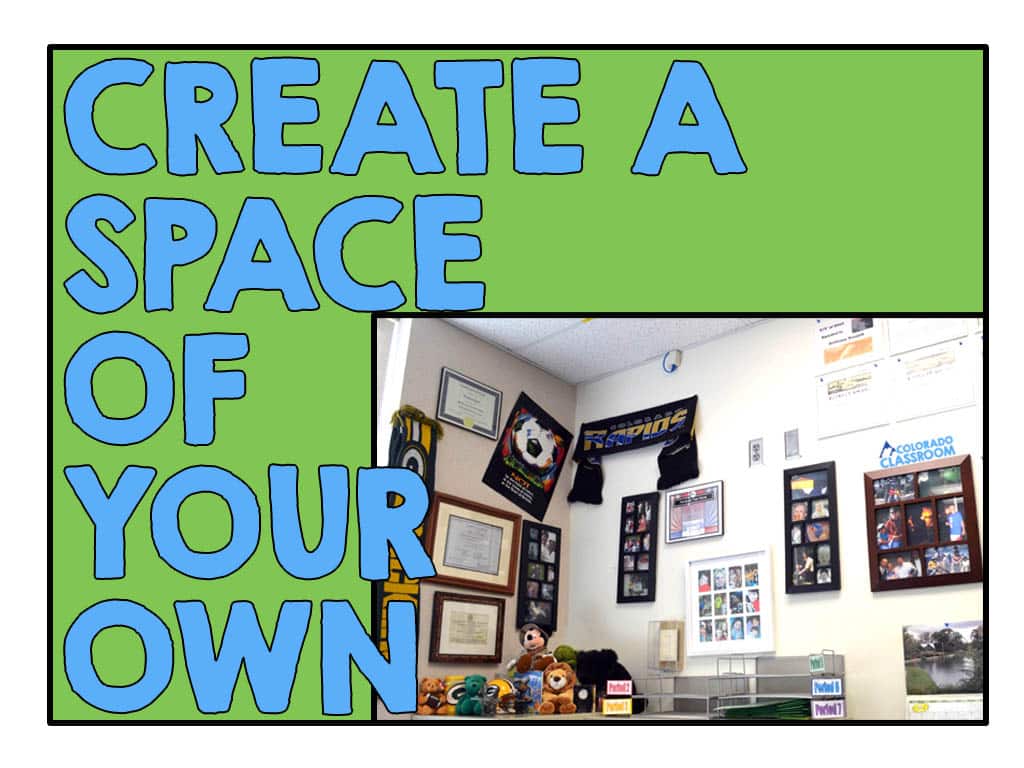
When student spaces are all done, then take time in your classroom setup to make a space of your own. Be sure to include some pictures of your loved ones, your favorite items, your degrees, items that bring you comfort, and items that bring you joy. You will end up spending more time at school (awake) than you will at home (awake). Therefore, you want it to be an environment that you feel comfortable in and love. Plus, it is good for the kids to get to see that you are a real person and not some robot that lives in the storage closet.
Tackle the Paper
Lastly, before the kids arrive, tackle the paper. Get all the forms, welcome packets, back-to-school notices, and checkout forms copied and ready to send home. Have everything laid out in neat and organized piles, so it is easy to find what you are looking for. Better yet, have items chronologically ordered throughout the day, so you just move from left to right across your table as the day proceeds.
When you’re down to just a few packets left and the day is over, take those leftovers and immediately make a few packets. These will be for kids who start late or enter the school system in a few weeks. It will feel so good and look very professional if the moment they walk into your room, you hand them a packet with everything they need to know. I keep these packets in a “new student” folder on top of the bookcase behind my desk.
Put Your Feet Up
Now that you’re all ready to go, put your feet up and take a breather. You deserve it! Better yet, tell me your favorite and least favorite parts about classroom setup in the comments. I can’t wait to hear yours.
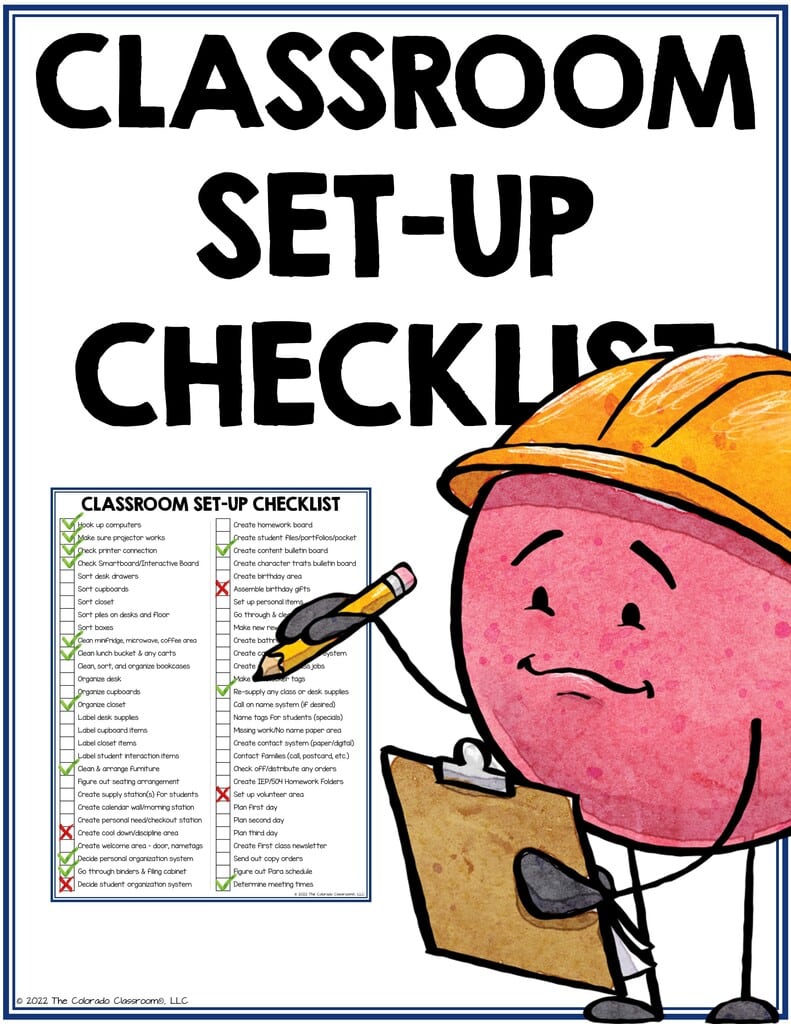
If you want an editable classroom set-up checklist of all these steps and items, just download one here to have the best year ever.


Pingback: Classroom Organization with Colors | The Colorado Classroom
Thank you for sharing your wealth of information and experience! I am “graduating” from teaching Kindergarten and moving up to 6th grade next year! Our district technically treats 6th grade the same as the other elementary grades, however, we also have electives for the students to go to. So I feel it’s more of a hybrid elementary/middle school setting. Your checklist will help immensely and I look forward to exploring more of your printables! Thanks again!
My first sixth grade position, that I absolutely loved, was very similar to yours. I hope you enjoy it!
very very helpful.
Thanks ever do much.
Avis- Jamaica WI