How to Build a Salt Dough Map from Scratch
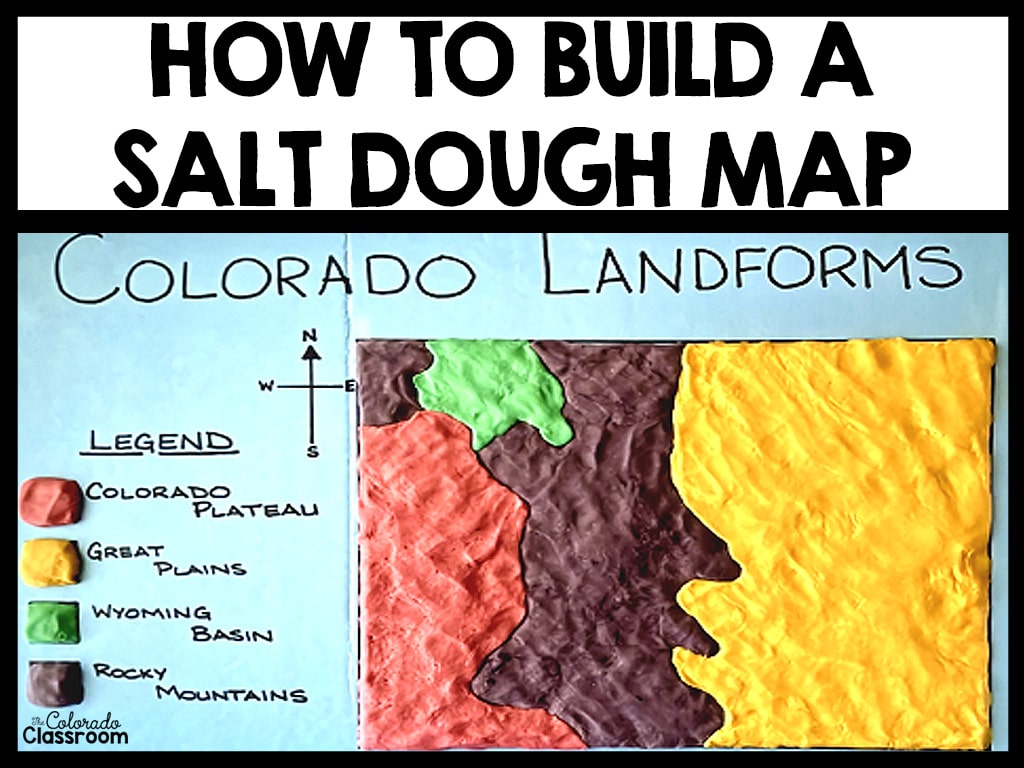
I recently made a salt dough map as an example for one of my resources, and I was amazed at how quick and easy it was to complete. Making the dough and making the map took just over an hour altogether. So I thought I would explain and show the process in this post, as well as explain why I think this is a valuable exercise and assignment.

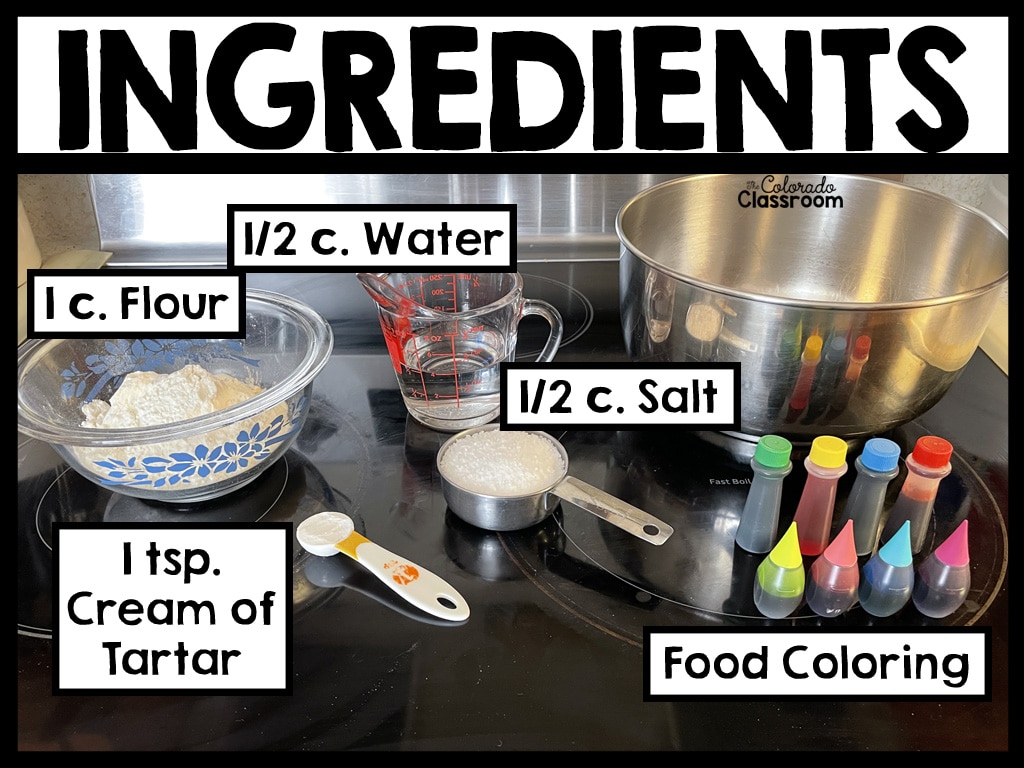
Assemble the Ingredients
Step One is to assemble the ingredients to make your dough. You might need to run to the store, as a lot of salt is needed. Many people also don’t have cream of tartar on hand, but that is not a deal-breaker, as it is optional. Check your local grocery store or somewhere like Sams Club or Costco for bulk salt and flour, as well as food coloring and the cream of tartar.

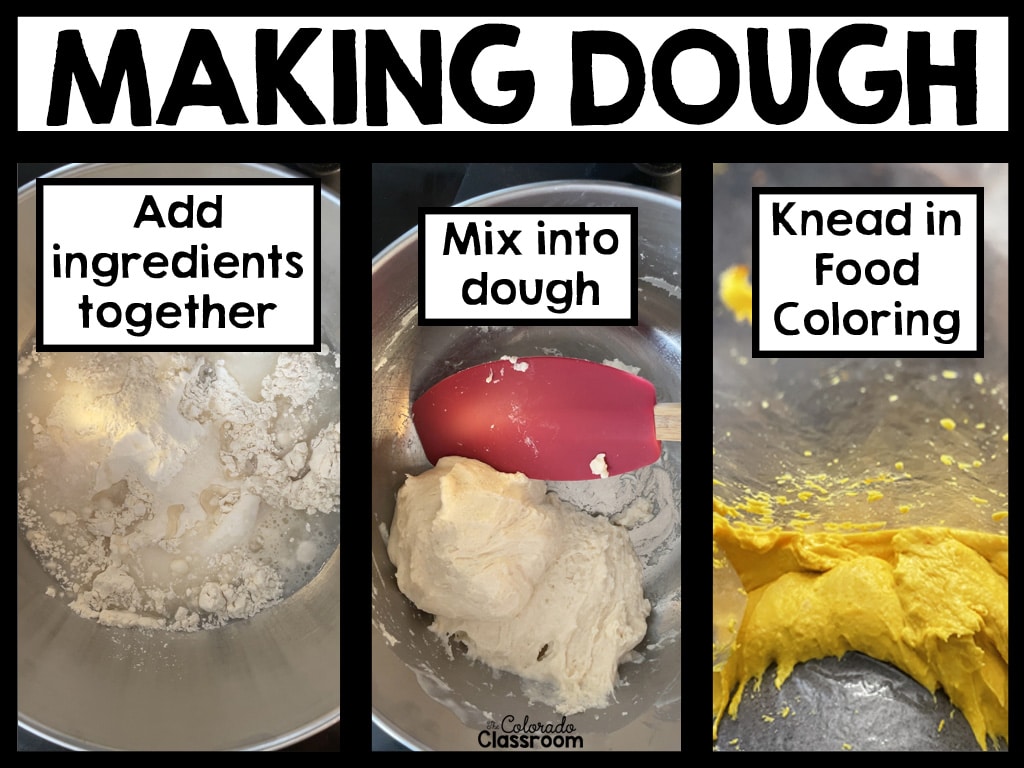
Making Dough
Step Two is to make the dough by mixing the ingredients. Some recipes call for you to heat the ingredients in this stage, but that is unnecessary. Stir and thoroughly blend the flour, salt, and water together until you get a doughy ball. Make sure it is not too sticky by adding just a touch of flour. Or, if the dough is too dry, add just a little more water.
Step Three is when you add the food coloring. I recommend plastic bags or gloves for this step, so you do not color your hands, furniture, clothing, or anything else. Split the dough into sections and place it into plastic bags. Double-seal freezer bags work best. Add 10-20 drops of food coloring for the best result. Seal the bag, getting the air out, as you seal it. Then knead the dough in the bag to help blend the coloring into the dough. The longer you knead, the better the color will look. The more food coloring you add, the more vibrant the color will be as well when you go to make your salt dough map.

Step Four requires you to store the dough in the fridge overnight. Leaving the dough in the refrigerator overnight helps the moisture spread and the gluten bonds to form, which will help the dough stick better. In the meantime, move on to step 5.
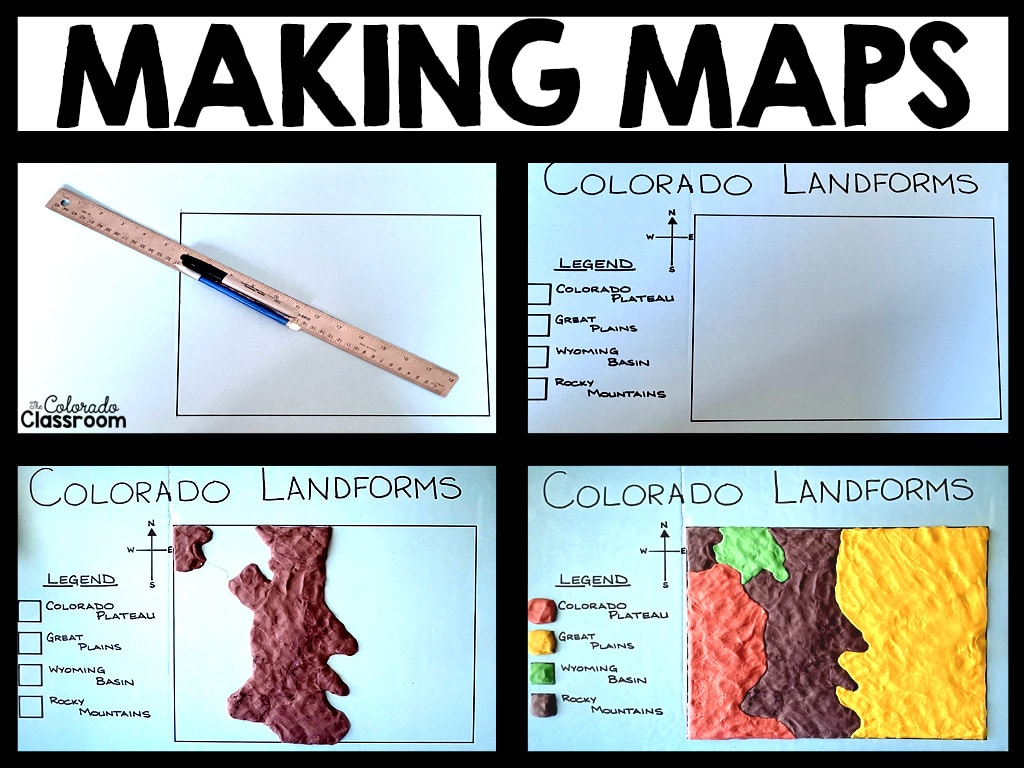
Creating the Salt Dough Map
Step Five is to prepare your map or surface for the dough. I used a 1/4 inch foam board that was 20″ x 30″. I then cut the 30″ length in half, so my surface was 20″ x 15″. Lightly sketching out the map of Colorado and the words and legend were next on the agenda. Once I was sure of the placement and fit, I inked my designs with a permanent marker.
I proceeded with step six the following day, placing the dough on the board. For each bag of dough, I warmed it up and made it malleable by kneading it in my hands first. Once the dough was soft and pliable, I placed it on the board and pushed it down and out, squeezing it into the corners and crevices of the design. I repeated this process over and over, blending the handfuls.
Step seven would generally be reserved for labeling the salt dough map you had just created before the dough hardened and dried out. My legend was relatively simple, and I made it as I went, so I did not need this extra step.

So that’s it, just over an hour of time with about 35 minutes for the dough and coloring. And another 35 minutes for the map-making and dough placement. Altogether it was a relatively easy assignment. It is one that I think is quite reasonable to be given to students, as long as clear instructions and guidelines are presented as well.
You can give your students this salt dough recipe and share this blog post with students and parents alike. Or, make your own salt dough map examples to help guide them, but get your students interacting with maps. There’s a lot to be learned there.
Let me know in the comments how you use salt dough maps in your classroom.


Pingback: Easy 4th of July Crafts for 6th Graders - The Colorado Classroom
Pingback: Colorado Landforms Unit - The Colorado Classroom